Stable Diffusion WebUI 环境
Stable Diffusion 是热门的文本到图像的生成扩散模型,本文介绍了如何准备其 WebUI 环境。
环境基础
- OS: Ubuntu 22.04.2 LTS
- Kernel: 5.19.0
- CPU: AMD Ryzen 7 3700X
- GPU: NVIDIA GeForce RTX 2080 Ti
- RAM: 16GB
环境安装
Nvidia 驱动
# 查看可用驱动信息
ubuntu-drivers devices
# 安装 Nvidia 驱动(可选提示 recommended 的)
sudo apt install nvidia-driver-530
# 查看 Nvidia 驱动(查看不了,可重登录或重启)
nvidia-smi
Anaconda
- Anaconda: https://www.anaconda.com/download
# 安装 Anaconda, 都 yes
bash Anaconda3-2023.03-1-Linux-x86_64.sh
PyTorch
- PyTorch: https://pytorch.org/
# 创建虚拟环境
conda create -n sdwebui python=3.10.6 -y
conda activate sdwebui

# 安装 PyTorch with CUDA
conda install pytorch torchvision torchaudio pytorch-cuda=11.8 -c pytorch -c nvidia -y
检查 PyTorch 版本,
$ python - <<EOF
import torch
print(torch.__version__, torch.cuda.is_available())
EOF
2.0.1 True
Stable Diffusion WebUI
获取代码
sudo apt install git -y

git clone -b v1.3.2 --depth 1 https://github.com/AUTOMATIC1111/stable-diffusion-webui.git

cd stable-diffusion-webui/
export SDWEBUI=`pwd`
获取模型
从 Civitai 或 HuggingFace 下载模型,
- 现实风格
- 动漫风格
这里选了两种不同风格的模型,放进 models/Stable-diffusion/ 目录,
mv majicmixRealistic_v5.safetensors $SDWEBUI/models/Stable-diffusion/
mv dreamshaper_6BakedVae.safetensors $SDWEBUI/models/Stable-diffusion/
启动运行
conda activate sdwebui
# 避免用 venv,就用 conda 虚拟环境
export VIRTUAL_ENV=sdwebui
# 启用局域网访问
export COMMANDLINE_ARGS=" --listen"

# 以上可以直接在 webui-user.sh 配置好,如下
cd $SDWEBUI
vi webui-user.sh
# webui-user.sh
#  eval "$(conda shell.bash hook)"
#  conda activate sdwebui
#  export VIRTUAL_ENV=sdwebui
#  export COMMANDLINE_ARGS=" --listen"

# 启动运行
cd $SDWEBUI
./webui.sh
webui-user.sh可配置指定的 Stable Diffusion 版本等,默认值见$SDWEBUI/modules/launch_utils.py。webui.sh启动运行,默认会用 python venv 准备完整环境,不过这里让用已准备的 conda 虚拟环境了。
等启动后,浏览器打开 http://127.0.0.1:7860/ 即可开始使用了。
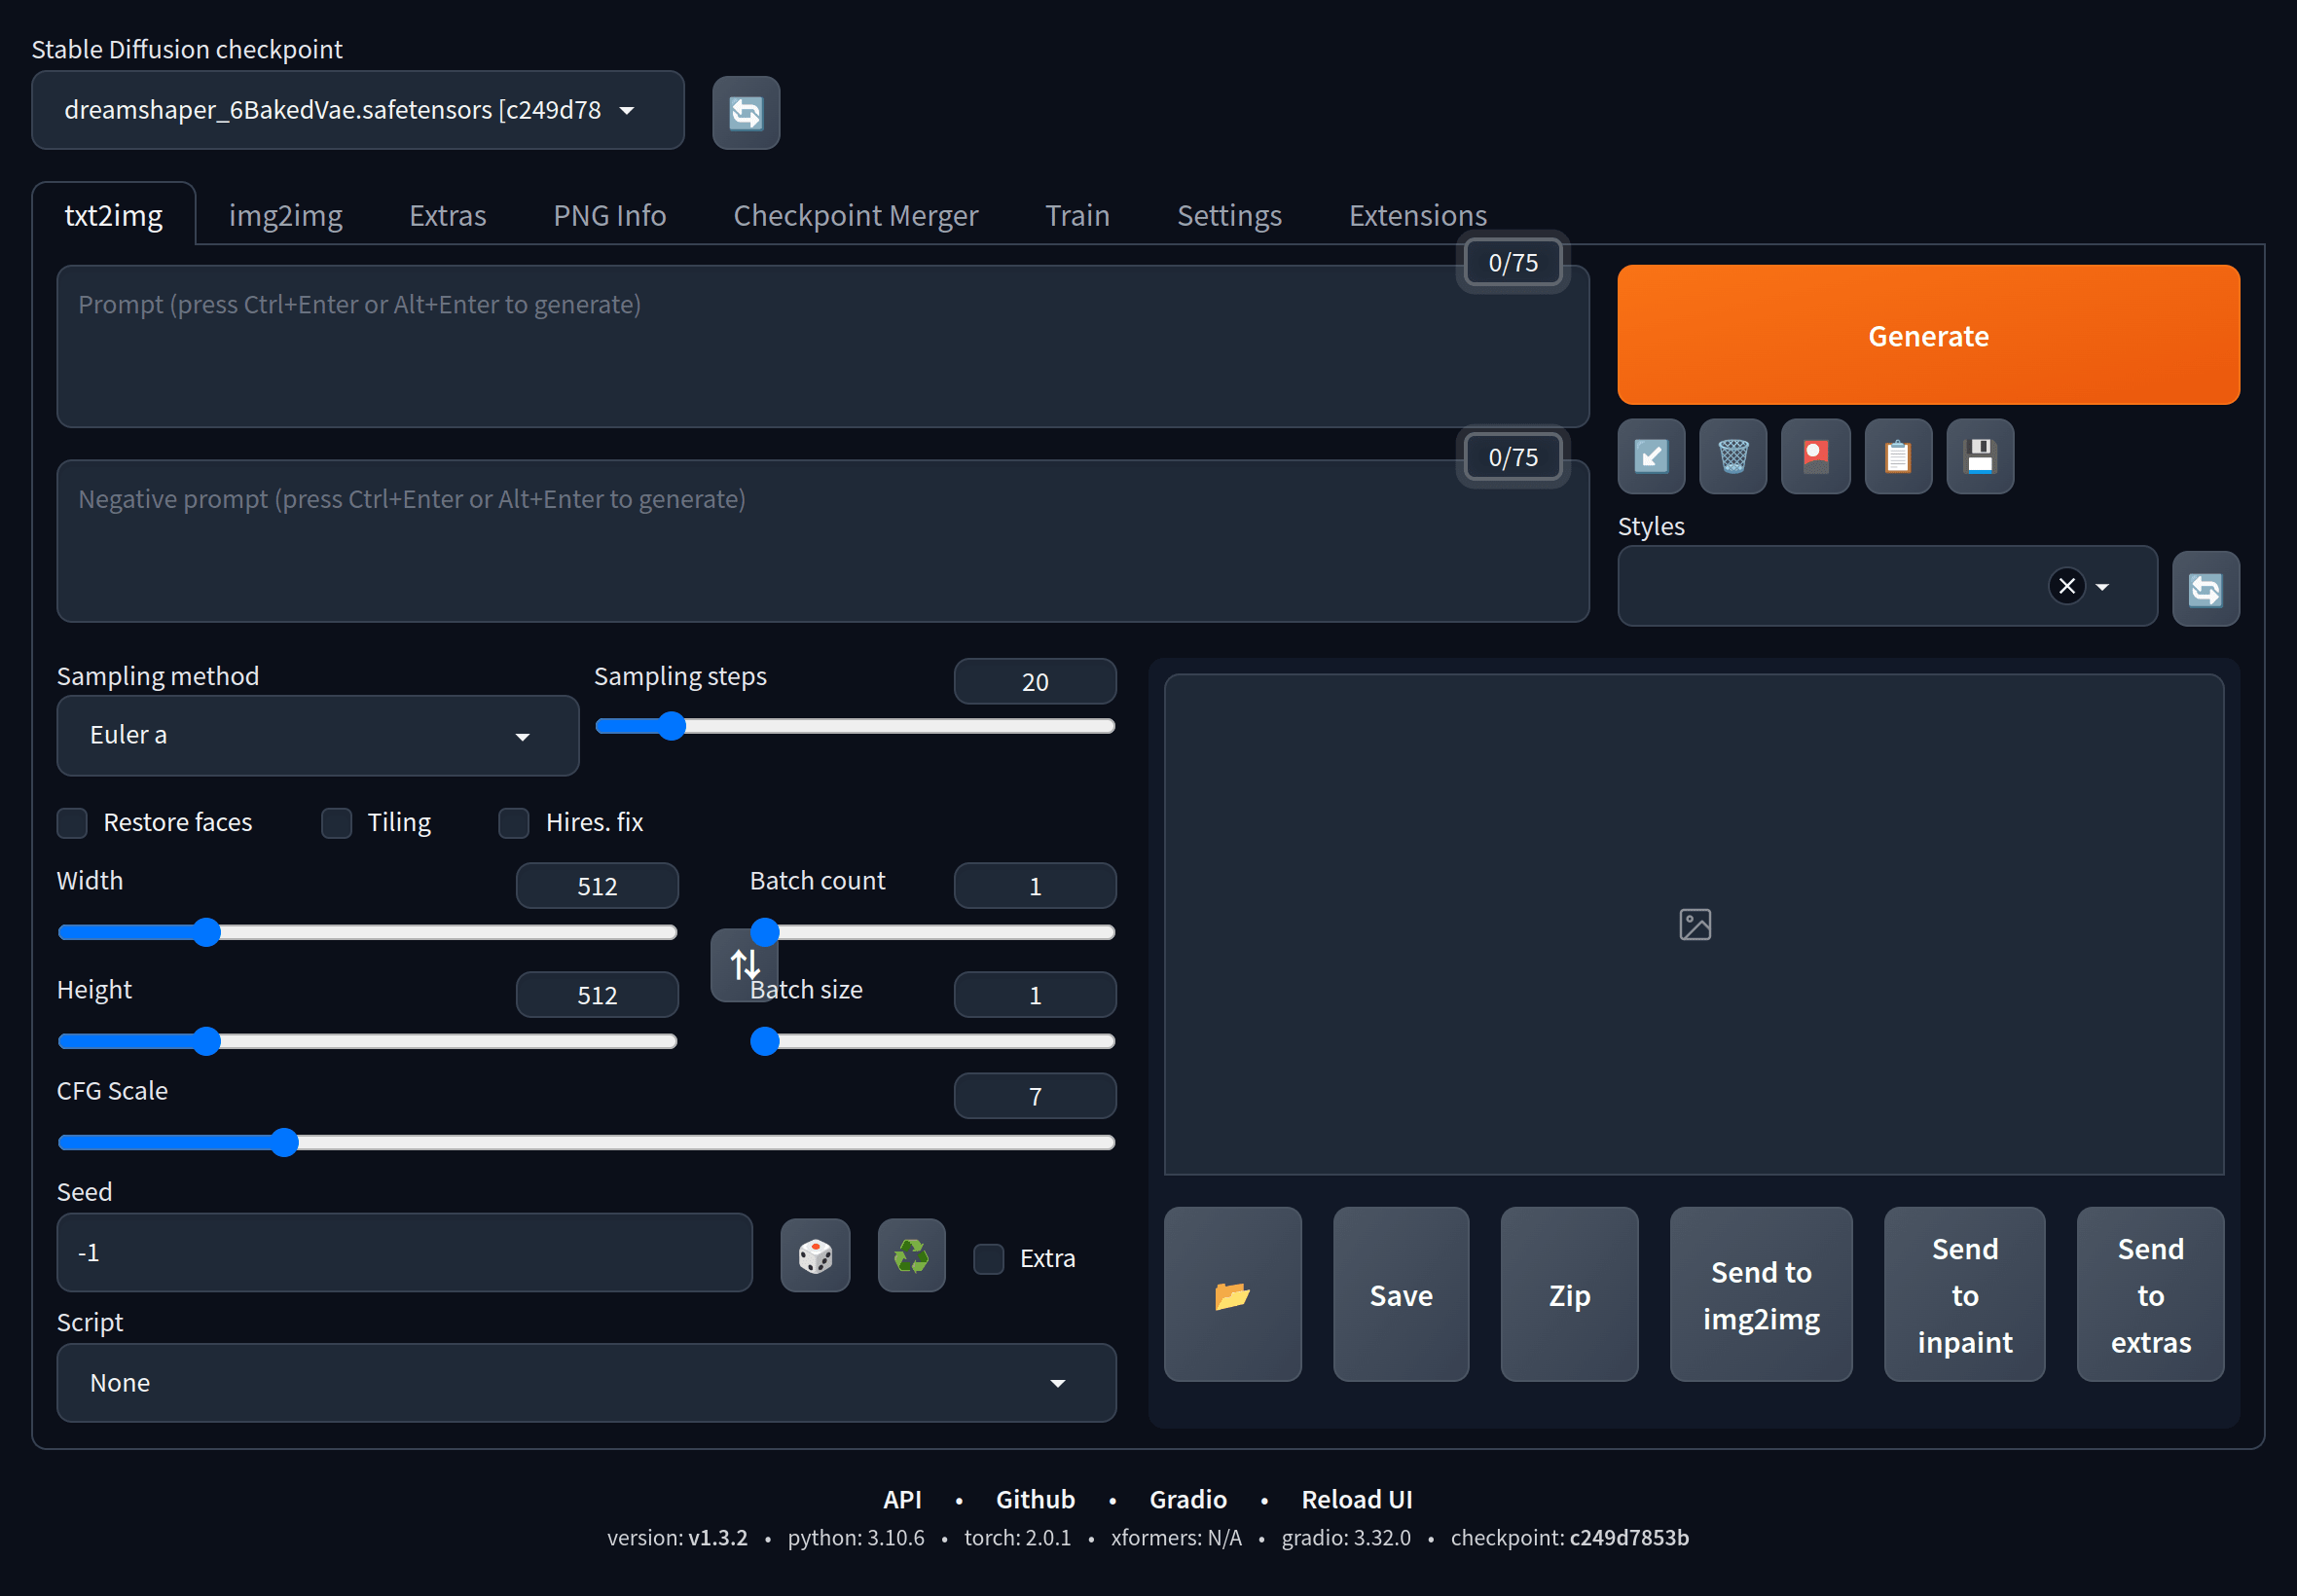
初步使用
Stable Diffusion checkpoint 选择模型,于 txt2img 标签页写好 Prompt Negative Prompt 文本,再 Generate 即可生成图像。
刚开始使用,可以借用别人的 Prompt 试试:如模型下载页示例图像的,或如 PromptHero 等站点分享图像的。试了下两模型,效果如下:
majicMIX realistic:

# Prompt
best quality, masterpiece, ultra high res, photorealistic, 1girl, offshoulder, smile,
Portrait

# Negative prompt
ng_deepnegative_v1_75t, (badhandv4:1.2), (worst quality:2), (low quality:2), (normal quality:2), lowres, bad anatomy, bad hands, ((monochrome)), ((grayscale)) watermark, moles
DreamShaper:
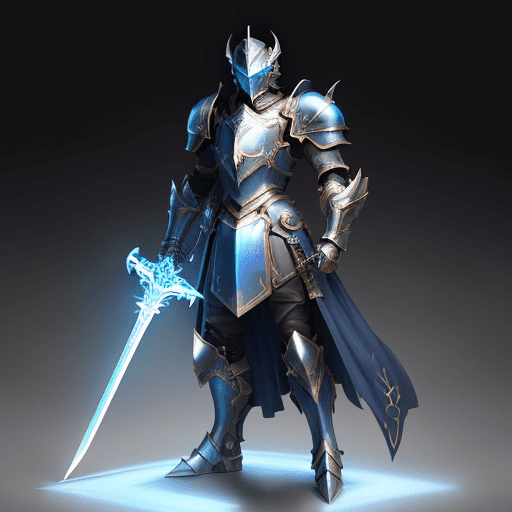
# Prompt
(masterpiece, top quality, best quality, official art, beautiful and aesthetic:1.2),(8k, best quality, masterpiece:1.2),CGDivineSwordsw, weapon, armor, solo, holding, horns, glowing, sword, 1boy, holding weapon, planted, male focus, glowing weapon, standing, helmet, gauntlets, holding sword, glowing sword, planted sword, shoulder armor, gradient, gradient background, greaves, pauldrons, (blue glow:1.3), <lora:CGDivineSwordsw_20230611172159:1>

# Negative prompt
(badhandv4:1.2),lowres, bad anatomy,bad arms,text, bad face, error, extra digit, fewer digits, worst quality, low quality, normal quality, jpeg artifacts, signature, watermark, username, {blurry:1.1}, missing arms, missing legs, more than two legs,cowboy,huge_breasts,gigantic_breasts,
后话
Prompt 需要自己多玩,慢慢探索和总结。可以搜索别人分享的经验,也有不少生成或优化工具。去理解扩散模型的大概原理,也可能有不少帮助。